The Battle of the "V"
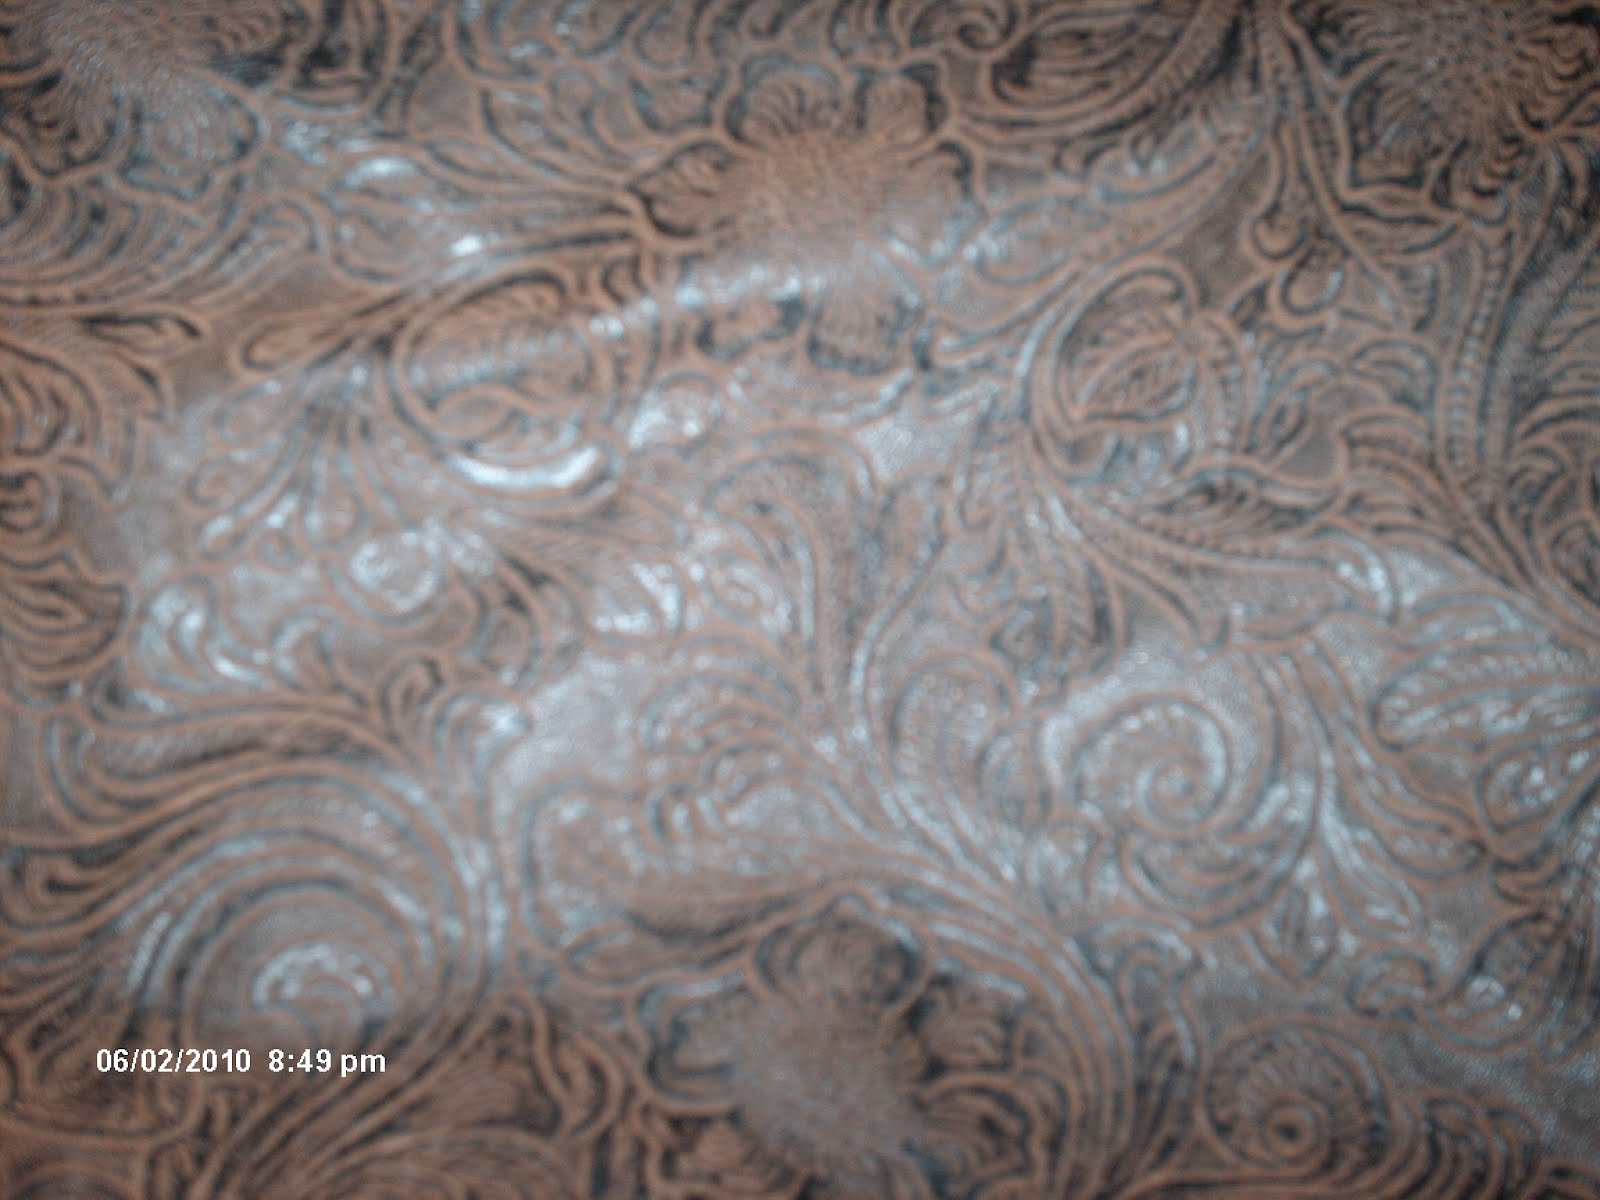
An important detail of my dress is the signature "V" (Chevrons" on the bodice, underskirt, and sleeves of the dress. I was lucky enough to find a material with raised velvet stripes with a satin background.
Working

Making stripes into "V's" can be intimidating, but it really is simple when you know one basic trick. There is a downside, you need more fabric (about 2x) if you are going to chevron. It's the only way to do this with something like a dress...
The Fabric:

Take your striped fabric and lay it open.

Fold the bottom edge of the fabric to the right edge, so it makes a right triangle.

Cut off the angle.
Now you have a perfect angle for your chevron. No, It's not as easy as that... You can now cut out one half of your piece. I used the cut piece for the underskirt. It was large enough and saved me fabric.

In order to get the other side of the dress... You'll have to make a new angle. Here is the trick. When you fold the fabric on the other side of the material, you'll need to fold it in the opposite direction. Basically the fabric should look like a trapezoid when you are done.
You can use the cut angle for both sides and it will make a perfect chevron.
When things go wrong...

Okay what happens if you do the first fold and you mess up the second? You're staring at a piece of fabric that looks like a tired square and it won't work. Before you throw the fabric out or break into tears you can fix the problem.
Okay... when you have one side of the chevron cut, turn the cut fabric over and lay it atop the fabric to be cut. Match up the lines exactly and cut out the piece. When you seam the fabric together you will have a perfect chevron. It's not ideal, but it does fix the problem.
I repeated the process with my bodice front. Time for the sleeves...

Getting the Point:
Simplicity Pattern 2589 (The Tudor Gown) has the trumpet
sleeves, which does not match what I wanted for this dress. Time for some creative patterning. I found a similar sleeve to my design in Simplicity pattern 8192.

The sleeve has a good billow, and I can shape it if I need it narrowed later on. The problem once I found the sleeve I wanted was, I needed it also to be chevron-ed. To do this I folded the pattern in half. This time I went to the main fabric and used the angled cuts to create the sleeves.
Pattern Problem Solving:
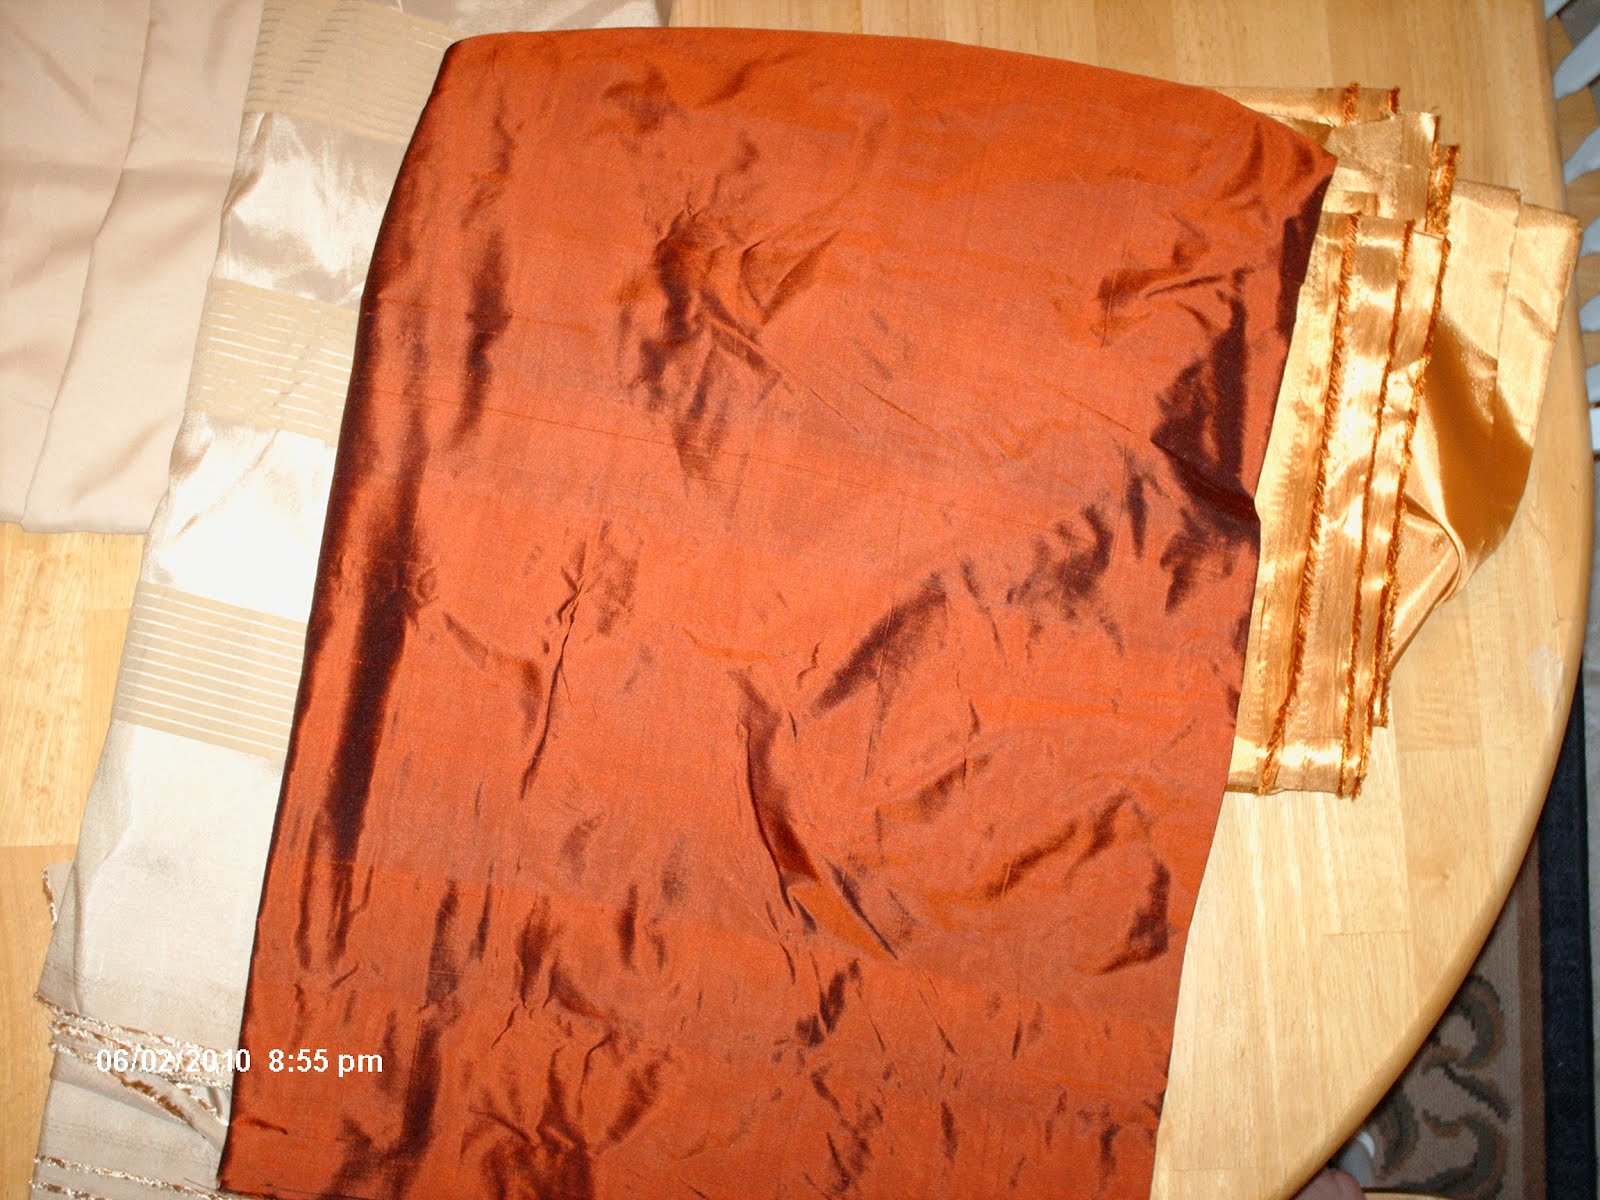
Once finished with the center front, I cut the back and front sides of the fabric out of the orange silk. Both the striped fabric and the orange are thin materials. When you are using drapery fabric, you don't usually have to worry about boning showing through or the line of the bodice--the weight of the fabric will hold things together. However, with light fabrics you have a problem.
When wearing a fabric, the light fabric and buckle, fold, or worse bow making it look like one ripped seam and pounds of hidden fat will come rolling out toward the observer. In order to make sure my bodice holds as nicely as upholstery fabric, but gives the impression of light silk-- I have to bolster the fabric's weight.

I'll do this through the use of two extra cuts. The
first is a heavy weight interfacing. The second is a coating of pelon. The heavy interfacing feels a little like poster-board when you are cutting it.
This will give your fabric strength. The pelon will go between the interfacing and the light fabric. The Pelon will make your fabric smooth and hide any boning ridges that might come through the interfacing. It's a delightful tool. I use it making my hats.

Pelon: soft, fluffy, thin, and one side usually has glue to affix it to your fabric.

Heavy Interfacing: Thick interfacing, usually with a plastic protective coating. has a very visible glue side. Feels like a fabric version of poster board.

After looking at Simplicity Pattern 2589 there is one aspect I do not like. The Bodice is only semi-boned. Not my favorite plan. Boning adds rigidity to your dress and gives added support for the shape and line of the dress. Simplicyt Pattern 8881- has a fully lined bodice. It does this by sewing channels into two pieces of lining where you insert the boning. I've decided to do this with this particular dress. The process is simple enough, I simply cut two linings of all the pieces of the bodice.
Another issue that I have with this dress, is that the bodice is connected to the skirt. I'm not a big fan of this plan. First, it will make the dress a monster for travel. I like the bodice and the skirt being separate. Second, that means the underskirt is free. Given I have a very specific front panel, from my experience it will turn as I walk. So I'm adapting the dress. I cut a waist band out of the orange fabric. I made it large, as I did with the last dress, and cut some of the heavy interfacing to give it strength. I'll be connecting the underskirt and the over skirt together, and I'll make the bodice separate and connect it to the skirt with coat hooks.

I cut out the rest of the skirt and the underskirt out according to Simplicity pattern 2589.
I've decided to work with the coat later, so for now I'm done cutting. Next post; Sewing the chevrons and making a fully boned bodice from a partially boned bodice pattern.
Left to do: (Summary)
Sewing chevrons
Boning the bodice
Sewing the outer fabric of bodice.
Connecting the lining to the bodice
Finishing the edges.
Adding Sleeves
Underskirt
Overskirt
Cutting the Coat
Sewing the Coat
Embellishments
Hat