Showing posts with label Chevron Fabric. Show all posts

Sunday, January 20, 2013

How to sandwich seams in an Elizabethan underskirt.


A Note From the Cutting Table:

This is a strange post because I have to set the orange dress aside to create something entirely new.  My cousin, Melissa needs a new dress... so in the next few posts, I plan to make a dress in only a few days.  This will be a unique project because my cousin has a very ample bust.  Rather than squeeze her into one of the standard patterns, I plan to use my old costuming shop skills to make her a bust that will provide her support AND comfort rather than squeezing down her girls into pancakes.  Stay tuned for the first post in the two day event and wish me luck.

Underskirt Info: 

For now, I am not writing a detailed post.  This is just a holding spot for the underskirt pictures.  I promise as soon as I can, I will return and write a proper blog for this page.

Katie

How to hide your seams on the underskirt without creating bulges: 

I like clean seams.  I prefer to use French Seams.  I have a great tutorial for it in this blog.  However, when making an underskirt that has been heavily beaded French Seaming wasn't an option.  

If you run into a similar problem, here is how you solve it:


1.  First step, I laid the front panel of the underskirt face up on the carpet.  Leave it there.  (It will behave)


2. Next gather up whatever side pieces and center back pieces you need to have.

  NOTE: Do not sew up the center back at this point.  

Sew up the side pieces with their corresponding center back.  Again: I used a french seam, so there are no raw edges.    With the french seams facing the carpet, roll up the two side skirt pieces until only the seam edges are accessible   

3.  Laid the rolled sections face down on the front of the skirt.  (Make sure your french seam folds are facing the ceiling.)


4. Next, lay the lining for the front panel on top of the rolled side pieces and the front panel.  The rolled pieces should be sandwiched between the front panel and its lining. 


5.  Sew up the sides.  No need to French Seam.  These seams will remain hidden throughout the life of the gown.  


6.  Pull open the front panel sandwich and extract the rolled side pieces.  

the skirt should lay out flat with the lining on one side and...


 ....the front panel on the other.  The seams you just sewed will be hidden within the dress.  


6.  Sew up the back seam and presto!   You're underskirt is ready for a waistband.  Now... I choose to connect my underskirt and over-skirt together.  This is a personal choice.  I don't like my skirt twisting as I walk.  If you would like to have a separate waistband.  This would be the time to add it.  For right now I'm setting the underskirt aside until the over skirt is ready.  


NEXT TIME: A DRESS IN 48 HOURS.... CAN IT BE DONE?????

ALSO: HOW TO MODIFY A BODICE.

How do do Elizabethan Black-Work with beads.

What is Blackwork?  


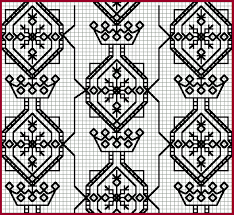
Blackwork is an early form of adding pattern and decoration to renaissance clothing.  Initially all blackwork was done with black silk thread that was sewn into the clothing to make geometric patterns.  In theory all blackwork was reversible.  The patterning was more expensive than buying lace, simply because of the time consuming nature.  However, because it is not considered lace, there was no tax on it through the sumptuary laws.  (Laws that basically stopped the lower classes from adding decoration to their clothing and looking higher than their class.)  


How did it come about?

This is one of those "we don't actually know the answer" moments in history.  Best guess-- Most historians believe that blackwork came to England through Catherine of Aragon.   She was engaged to Prince Arthur of England at the age of three.  Arthur gave her a doll house as an engagement present.  They were married when she turned sixteen and Arthur promptly died five months later.  Since the marriage was not actually consummated  Catherine was married again to Arthur's younger brother Henry VIII, shortly after his father passed away.  (Henry VII was blocking the marriage, because he had a falling out with Catherine's father Ferdinand)  (Yes that is the one that sent Christopher Columbus out sailing.)  I'm not going to get into the historical details of Anne Boyle and Henry's head chopping history.  (That's a story for another time.)


Let's focus on the blackwork.  Catherine loved lacework and was pretty handy with a needle.  She embroidered many of Henry's tunics with this new style.  It gained in popularity and caught on with the people in England.  At first blackwork followed the Spanish embroidery styles--which looked almost middle eastern in its nature.  An important nature of blackwork is that it is reversible.  More importantly it can be seen from both sides.  Very important if you are looking at a collar or a cuff.
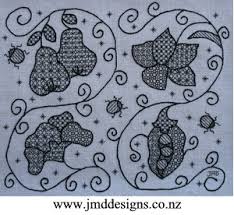


After Catherine is "divorced" by Henry, blackwork falls somewhat out of favor until Queen Elizabeth I starts adding it to her wardrobe.  Since Catherine's daughter Mary was Elizabeth's nursemaid growing up, it is possible that the skill passed to Elizabeth through Mary.  Elizabeth changed the design and used fill patterns.  This style is not reversible and was used to make designs such as fruit and flowers.


Blackwork is most likely the predecessor of cross-stitch.


On to the Bodice: 

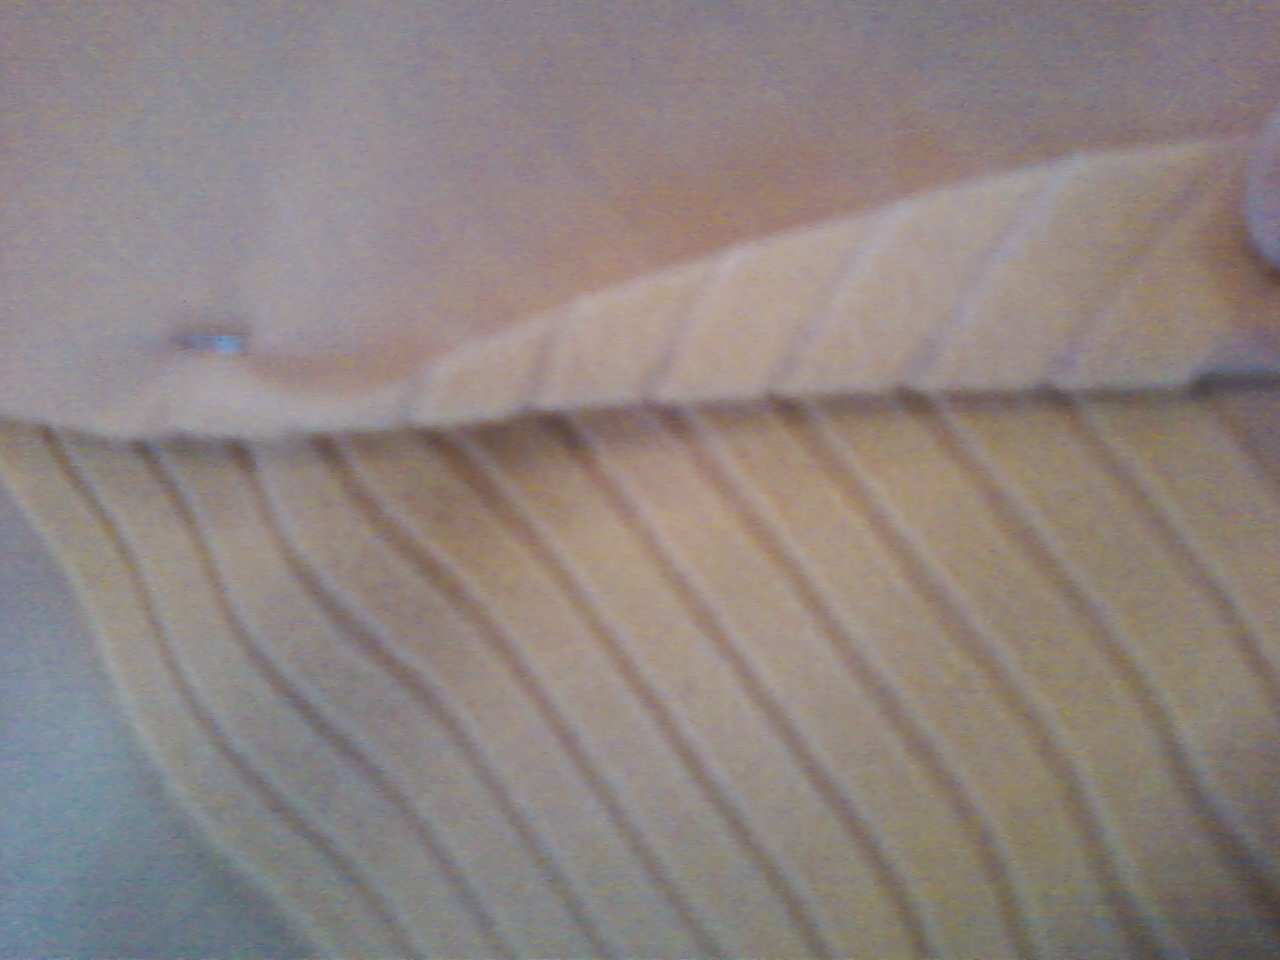
I didn't initially plan to put blackwork on the dress.  In fact, I wanted to keep this dress pretty plain, but I ran into a problem.  From a distance, the lines in the chevron were blending into the silk background.  After all the work spent making the dress to specifically have the "v" shaped chevron-ing, I didn't want to have it all blend into a dull yellow color.  Returning to the main picture, I realized that I had drawn the chevron's in with stark black lines.  This gave me an idea.  What if I played with the blackwork process to make the chevron's pop?  

Frankly I've never liked needlepoint or cross-stitch.  I can do it, but I don't like the flat look.  I do love beading.  It is one of my joys.  After doing some research on the blackwork style, I decided it would be possible for me to use black seed beads to create the same effect.  The dark black bead would make the lines pop.

Since I'm used to beading, I wasn't afraid to take this on.  I should have been.  At the beginning I used traditional beading to put on the beads--one bead at a time, double back to reinforce and add another bead.  (See pictures below.)


It worked really well--if I wanted to wear the dress in about five years.  The process was taking a really long time, so on the way back doubling the first line I started triple beading.  It is not as strong as traditional beading, but it sped up the process. To add stability I linked the the two strands of beads together wtih a binding stitch.  (see below.)


Take the thread.


Strand two to three beads.  (Four beads tends to bind together to create a flower.)


Push the needle into the fabric the distance of the beads and pull through so the beads sit firmly on the line.  


Take the needle horizontal and catch the first line of beads that have already been sewn.  Pull the needle through.


Solidify the stitch by catching the the last thread sewn.  Pull the thread tight and grab your next two beads.


I know what you are thinking...."There is not enough time in the day to do all of that."  Yup you're right.  After beading the entire bodice this way, I turned to the underskirt and the sleeves and nearly had a nervous breakdown.  Once the uncontrollable sobbing subsided, I started thinking rationally.

What exactly was I wanting?  Answer: Nice straight rows of beads.  I was fiddling with a string of beads I had bought at the craft store at the time, and I spent a moment looking at the thin fishing line they were strung upon.  An idea formed.  What if I used fishing line?  The plan was fantastic!  Here is the process: 

Items needed: seed beads (good quality-bargain seed beads tend to have holes that are not uniform.  About half of a bag may be unusable.  It's better to spend some money on quality beads.  

I dumped the beads into a custard cup.


Taking the fishing line, I dipped it into the custard cup, gathering up beads and stringing them on the line.  I thought this was going to be time consuming.  Really it only took a few hours to create several yards of beaded fishing line.  


I left the spool on the strung beads, so when I was sewing I had extra line to maneuver.  


I used my old embroidery hoop to lock down the beads onto the fabric, so they didn't shift as I was working.  


When the hoop couldn't be used, for example on the sleeves-- I used a pin to lock the beads in place.  


Just like in the processes above, I made a base stitch.  Pulling the needle through a single bead, I attached it to the fabric.  


The next series of beads I wrapped the thread around the bead and pulled tight until it slid between the beads and locked the fishing line to the fabric.  


The underside of the fabric looked like a somewhat straight line, because I always doubled back one bead with each stitch.  


At the end of the line, I threaded the fishing line back through the last two beads, and top-stitched over where it was looped.  Later I discovered it was easier to give the fishing line some slack, turn the beads and start the second row immediately.  I followed the same process as above, but I did lock the beads together, using the technique I explained in the second section of this blog.  


In the end I decided to use the beads to narrow the perceived waist of the dress.  Since I used a truly Tutor style bodice, it had a thick look to the middle.  I wanted to narrow it, so I did a filled blackwork section on the right and the left to make the waistline look narrow.  


Before:


After: 


I continued the fishing line black lines on the sleeves and the underskirt.  Both turned out remarkably well, especially when I found some flat lace which mimicked the later styles of blackwork.  I will explain how I put together the underskirt in the next post.  For now, you get a picture of the finished product.


I love the way these turned out.  I have a vague idea about how this bodice will eventually flush out, here is my initial pinning.   (In this picture I haven't completed the right side of the filled blackwork, however I have added the velvet trim around the bead work.  I really think it is lovely.  


UP NEXT: THE UNDERSKIRT


Saturday, January 19, 2013

Sewing a bodice with chevron-ing together.


Hi Everyone. Sorry it has been so long.  I published by third book in August, and I'm currently getting my Masters in Educational Administration.  Both took a considerable amount of time.  I have been working on the dress off and on, but I haven't had time to put things up on the blog.  

Unfortunately this tutorial is a casualty of the time crunch.  I'm really embarrassed about this section.  Fortunately,  I already wrote a really good explanation about how to put the bodices together with the red dress, so I am doing a really simple walk through of this process.  


When sewing the front of the bodice, I matched up the velvet pieces so that the stripes matched up perfectly and then did a simple seam.  Note: It is important to be aware of the seam allowance.  Sewing too deep will throw off your chevron.  


Once the material is sewn together, I ironed on the sheet of Pellon.


On top of that, I ironed on the heavy interfacing.  Since the material is so thin, I wanted to make sure the boning didn't show through.  This combination will make the front of the bodice look soft and provide the structure needed to make sure that the bodice doesn't pull apart due to the pressure from the corseting.   


Here you can see how the chevron turned out along with the three layers.


Once I sewed them together, I cut the seam allowance.  This will make sure the bulk in the side seams doesn't make the bodice look strange.  


A quick view of the result of the three layers.  Right now it looks a little more like body armor than a bodice. Ah well on to the lining.


Since you don't see the bottom layer of the lining, I put the actual marks of where I needed to sew to provide the casing for the boning on the sides (above) and the back (below).

Most of the patterns don't have the side supports.  I add them anyway.  Adding these supports will stop the bodice from folding in the back and on the sides.  


The front of the bodice needs more support.  I make the channels approximately a centimeter and a half wide.  


The boning (above) comes in a casing.  To make the bodice about nine yards of boning is needed.  This provides the structure for the front of the bodice.  First it has to be removed from the casing.  


The boning is put down each channel.  I do round the edges of the plastic.  In the long run it saves the lining.  To do it, you clip the corners off.  There is a better tutorial on this with the red dress.  


Once the boning is complete, I sewed the lining together.  It is my personal choice to put the rounded side of the boned front so the rounded section will be on the inside of the bodice.  Doing this will stop the bodice from rounding like a duck breast.


Adding the sleeves.  
Before I put the outer section and the lining together, I added the sleeves. 


I did a simple gather of the upper section of the sleeves.  I matched up the seam of the sleeve to the middle of the side bodice panel and pinned the sleeve into the arm.  Since I'm not using the actual sleeve for this particular pattern, some easing was required.  

Definition: Ease-- manipulating the fabric and providing a minimum amount of space between pins so there is no catching but the entire fabric fits within the space.  


This is my least favorite part of sewing these bodices.  I lose about a pint of blood sewing the sleeves together.  


Once done with the sleeves, I match up the lining to the outer bodice.  This only requires top sewing; however, this ends up breaking about twenty needles.  I did discover that using needles designed to go through leather provides the strength needed to sew the layers of heavier fabrics without breaking.  


With the top stitching completed, I framed the bodice with the bias tape.  I specifically chose the black bias tape, to give the bodice a stark outline.  I pinned it into place.  The corners are always tricky.


The easiest way: Leave about an inch and a half of space looped like above.  


When you pin down the other side, let the loop stay above the bias tape.  


Next tuck the looped edge under so you don't catch it with the sewing machine.  


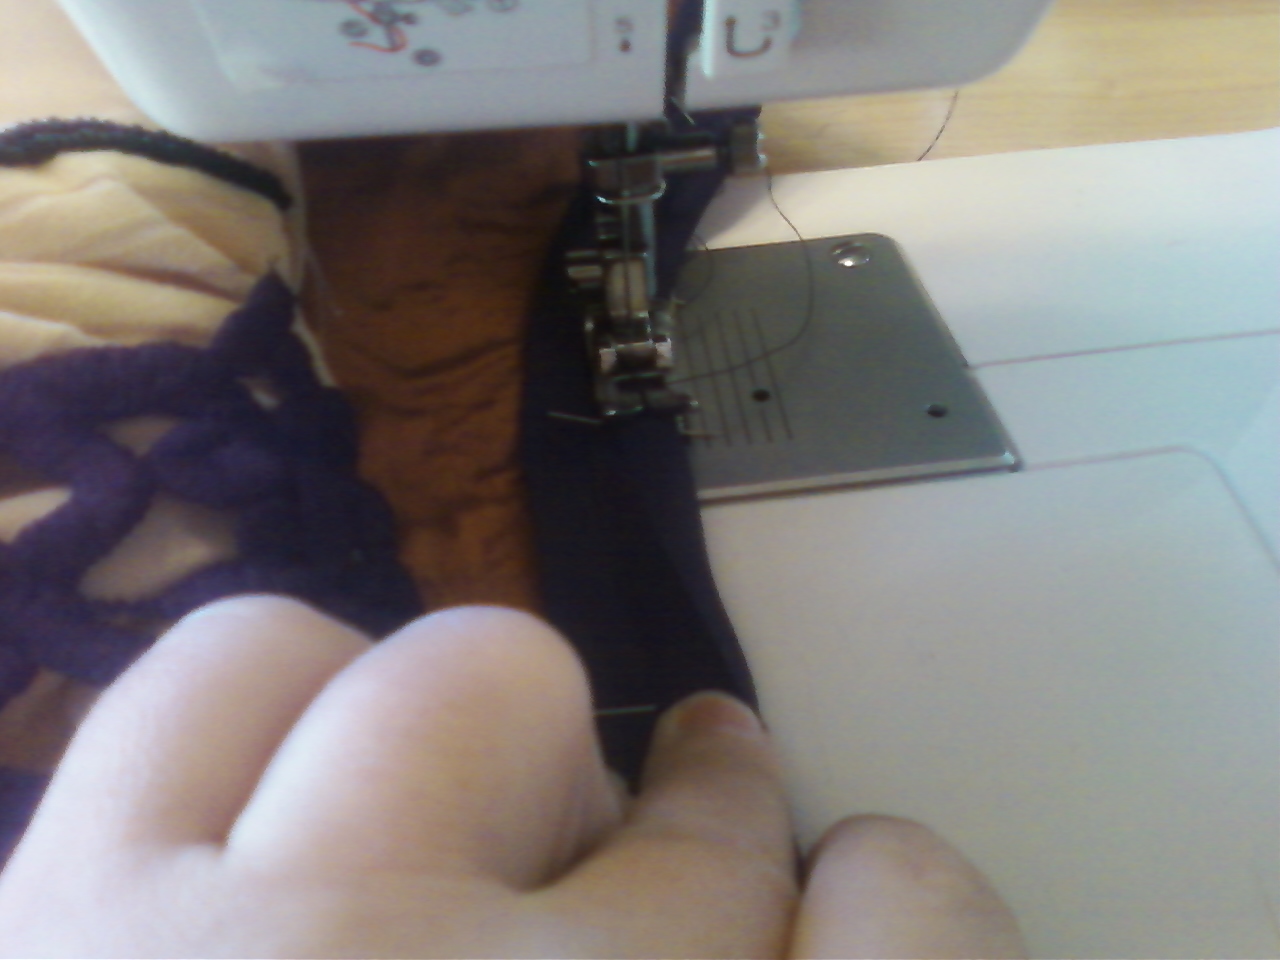
Sew the bias tape down with the sewing machine on the outside of the bodice.  This will give it a lovely line.  I didn't get a picture of the other side.  (Sorry)  I basically folded the bias tape over the edge.  Keeping it folded, I whip stitched the bias tape to the lining.  


UP NEXT: BLACKLINE BEADING.