Showing posts with label Sewing. Show all posts

Sunday, January 20, 2013

How to sandwich seams in an Elizabethan underskirt.


A Note From the Cutting Table:

This is a strange post because I have to set the orange dress aside to create something entirely new.  My cousin, Melissa needs a new dress... so in the next few posts, I plan to make a dress in only a few days.  This will be a unique project because my cousin has a very ample bust.  Rather than squeeze her into one of the standard patterns, I plan to use my old costuming shop skills to make her a bust that will provide her support AND comfort rather than squeezing down her girls into pancakes.  Stay tuned for the first post in the two day event and wish me luck.

Underskirt Info: 

For now, I am not writing a detailed post.  This is just a holding spot for the underskirt pictures.  I promise as soon as I can, I will return and write a proper blog for this page.

Katie

How to hide your seams on the underskirt without creating bulges: 

I like clean seams.  I prefer to use French Seams.  I have a great tutorial for it in this blog.  However, when making an underskirt that has been heavily beaded French Seaming wasn't an option.  

If you run into a similar problem, here is how you solve it:


1.  First step, I laid the front panel of the underskirt face up on the carpet.  Leave it there.  (It will behave)


2. Next gather up whatever side pieces and center back pieces you need to have.

  NOTE: Do not sew up the center back at this point.  

Sew up the side pieces with their corresponding center back.  Again: I used a french seam, so there are no raw edges.    With the french seams facing the carpet, roll up the two side skirt pieces until only the seam edges are accessible   

3.  Laid the rolled sections face down on the front of the skirt.  (Make sure your french seam folds are facing the ceiling.)


4. Next, lay the lining for the front panel on top of the rolled side pieces and the front panel.  The rolled pieces should be sandwiched between the front panel and its lining. 


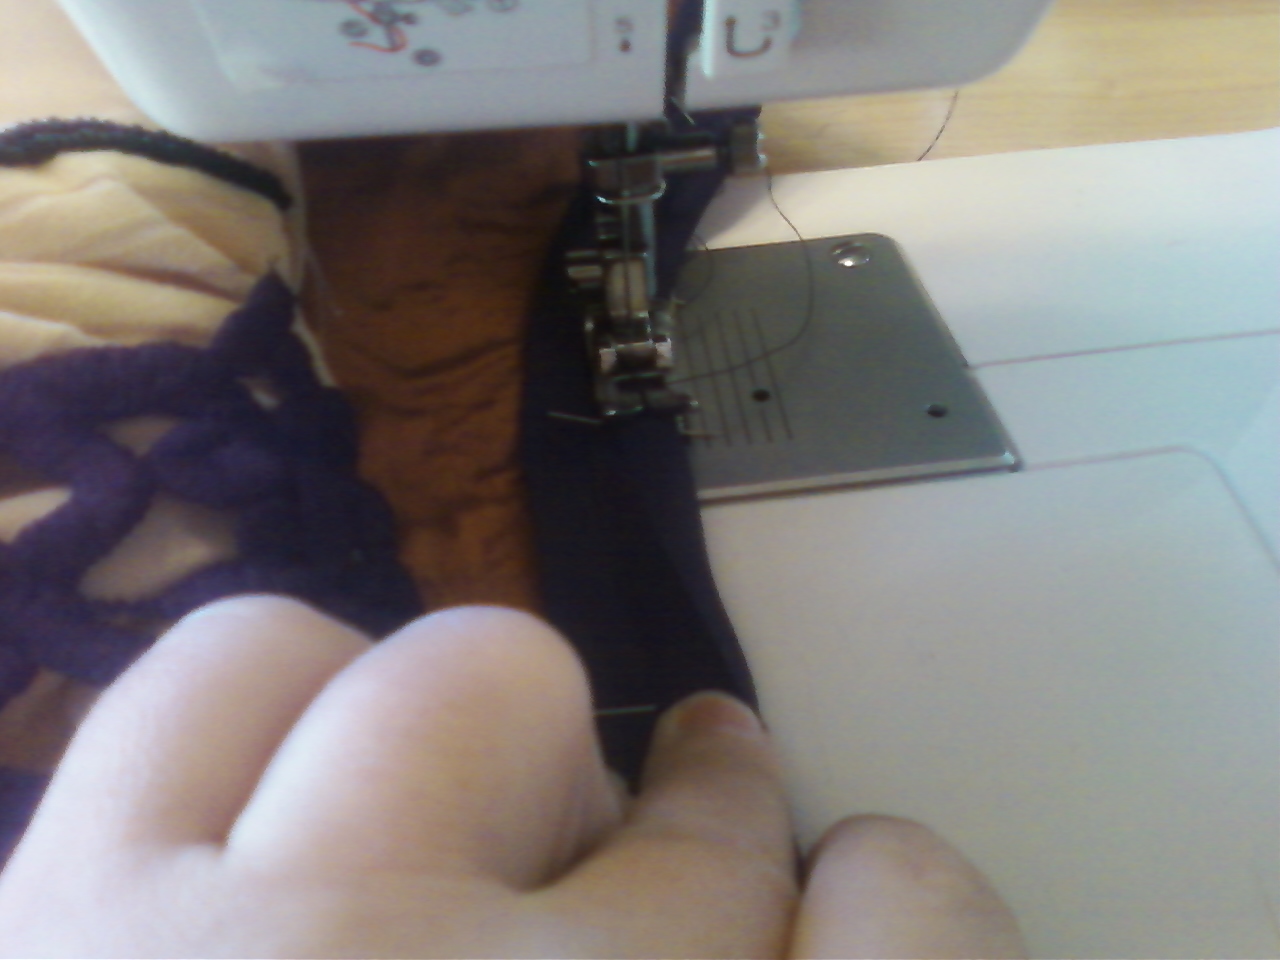
5.  Sew up the sides.  No need to French Seam.  These seams will remain hidden throughout the life of the gown.  


6.  Pull open the front panel sandwich and extract the rolled side pieces.  

the skirt should lay out flat with the lining on one side and...


 ....the front panel on the other.  The seams you just sewed will be hidden within the dress.  


6.  Sew up the back seam and presto!   You're underskirt is ready for a waistband.  Now... I choose to connect my underskirt and over-skirt together.  This is a personal choice.  I don't like my skirt twisting as I walk.  If you would like to have a separate waistband.  This would be the time to add it.  For right now I'm setting the underskirt aside until the over skirt is ready.  


NEXT TIME: A DRESS IN 48 HOURS.... CAN IT BE DONE?????

ALSO: HOW TO MODIFY A BODICE.

Saturday, January 19, 2013

Sewing a bodice with chevron-ing together.


Hi Everyone. Sorry it has been so long.  I published by third book in August, and I'm currently getting my Masters in Educational Administration.  Both took a considerable amount of time.  I have been working on the dress off and on, but I haven't had time to put things up on the blog.  

Unfortunately this tutorial is a casualty of the time crunch.  I'm really embarrassed about this section.  Fortunately,  I already wrote a really good explanation about how to put the bodices together with the red dress, so I am doing a really simple walk through of this process.  


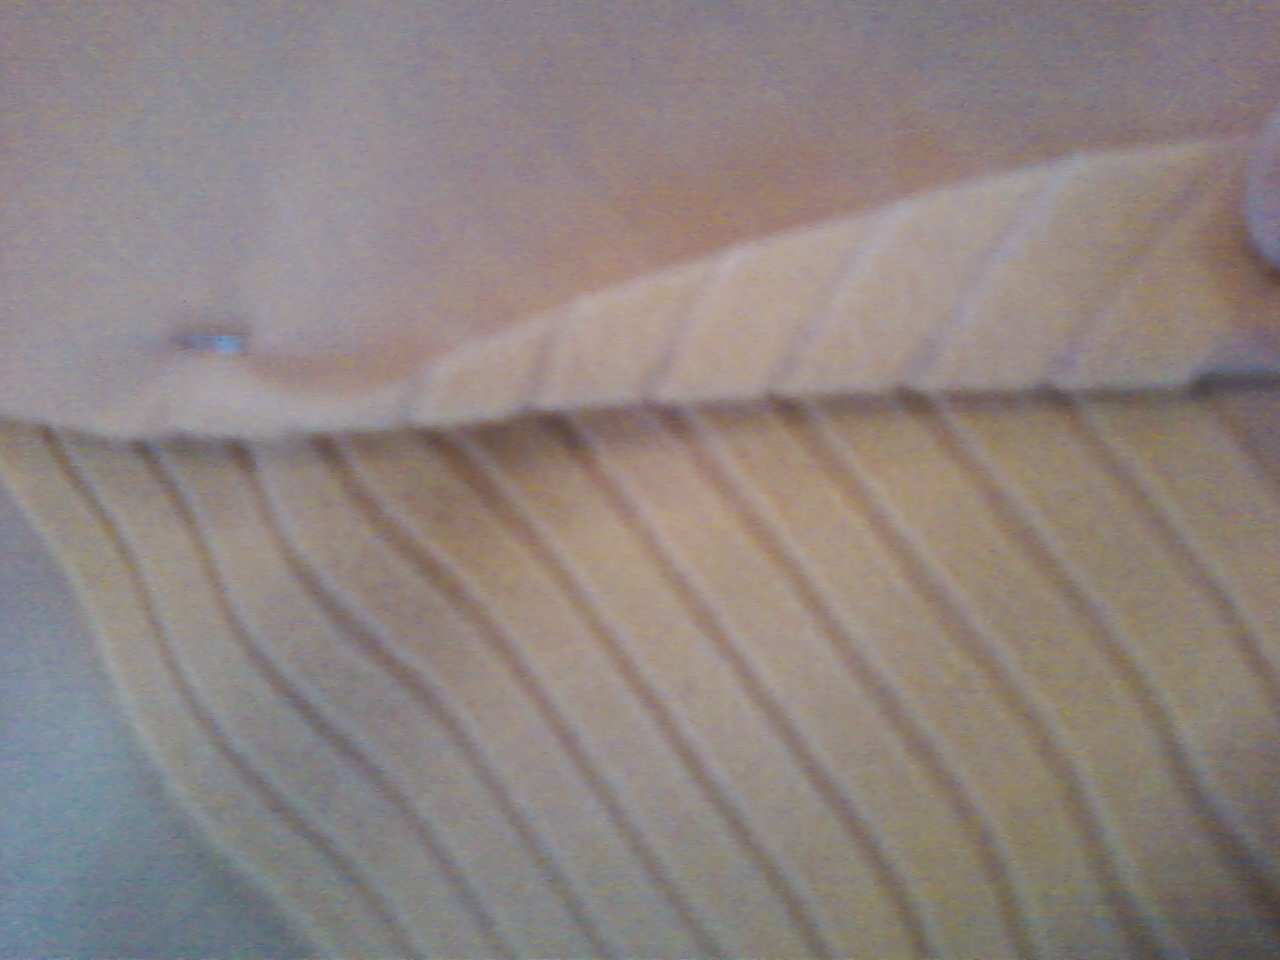
When sewing the front of the bodice, I matched up the velvet pieces so that the stripes matched up perfectly and then did a simple seam.  Note: It is important to be aware of the seam allowance.  Sewing too deep will throw off your chevron.  


Once the material is sewn together, I ironed on the sheet of Pellon.


On top of that, I ironed on the heavy interfacing.  Since the material is so thin, I wanted to make sure the boning didn't show through.  This combination will make the front of the bodice look soft and provide the structure needed to make sure that the bodice doesn't pull apart due to the pressure from the corseting.   


Here you can see how the chevron turned out along with the three layers.


Once I sewed them together, I cut the seam allowance.  This will make sure the bulk in the side seams doesn't make the bodice look strange.  


A quick view of the result of the three layers.  Right now it looks a little more like body armor than a bodice. Ah well on to the lining.


Since you don't see the bottom layer of the lining, I put the actual marks of where I needed to sew to provide the casing for the boning on the sides (above) and the back (below).

Most of the patterns don't have the side supports.  I add them anyway.  Adding these supports will stop the bodice from folding in the back and on the sides.  


The front of the bodice needs more support.  I make the channels approximately a centimeter and a half wide.  


The boning (above) comes in a casing.  To make the bodice about nine yards of boning is needed.  This provides the structure for the front of the bodice.  First it has to be removed from the casing.  


The boning is put down each channel.  I do round the edges of the plastic.  In the long run it saves the lining.  To do it, you clip the corners off.  There is a better tutorial on this with the red dress.  


Once the boning is complete, I sewed the lining together.  It is my personal choice to put the rounded side of the boned front so the rounded section will be on the inside of the bodice.  Doing this will stop the bodice from rounding like a duck breast.


Adding the sleeves.  
Before I put the outer section and the lining together, I added the sleeves. 


I did a simple gather of the upper section of the sleeves.  I matched up the seam of the sleeve to the middle of the side bodice panel and pinned the sleeve into the arm.  Since I'm not using the actual sleeve for this particular pattern, some easing was required.  

Definition: Ease-- manipulating the fabric and providing a minimum amount of space between pins so there is no catching but the entire fabric fits within the space.  


This is my least favorite part of sewing these bodices.  I lose about a pint of blood sewing the sleeves together.  


Once done with the sleeves, I match up the lining to the outer bodice.  This only requires top sewing; however, this ends up breaking about twenty needles.  I did discover that using needles designed to go through leather provides the strength needed to sew the layers of heavier fabrics without breaking.  


With the top stitching completed, I framed the bodice with the bias tape.  I specifically chose the black bias tape, to give the bodice a stark outline.  I pinned it into place.  The corners are always tricky.


The easiest way: Leave about an inch and a half of space looped like above.  


When you pin down the other side, let the loop stay above the bias tape.  


Next tuck the looped edge under so you don't catch it with the sewing machine.  


Sew the bias tape down with the sewing machine on the outside of the bodice.  This will give it a lovely line.  I didn't get a picture of the other side.  (Sorry)  I basically folded the bias tape over the edge.  Keeping it folded, I whip stitched the bias tape to the lining.  


UP NEXT: BLACKLINE BEADING.  


Monday, January 23, 2012

Here we go...

Oh, there's that pile of fabric...

The riding dress has been on the back burner for a while now. I have finally pulled it out of the corner, and the time is right to start on it. That said, I wouldn't say that I have time at this moment. I'm currently working a twelve hour day (I'm teaching night school to afford another renaissance trip.) But... I'm in the middle of a diet and when I get home, I need something to keep my mind out of the cupboard. Whenever I sew I forget to eat. It's perfect.

I'm planning on going to the Arizona Renaissance Fair in February, so my time line is a little bit shorter than thirty days. Let's get to work.

Once again I'm gathering supplies. The list is exactly the same as the Red Renaissance Dress from 2009 with a few additions:

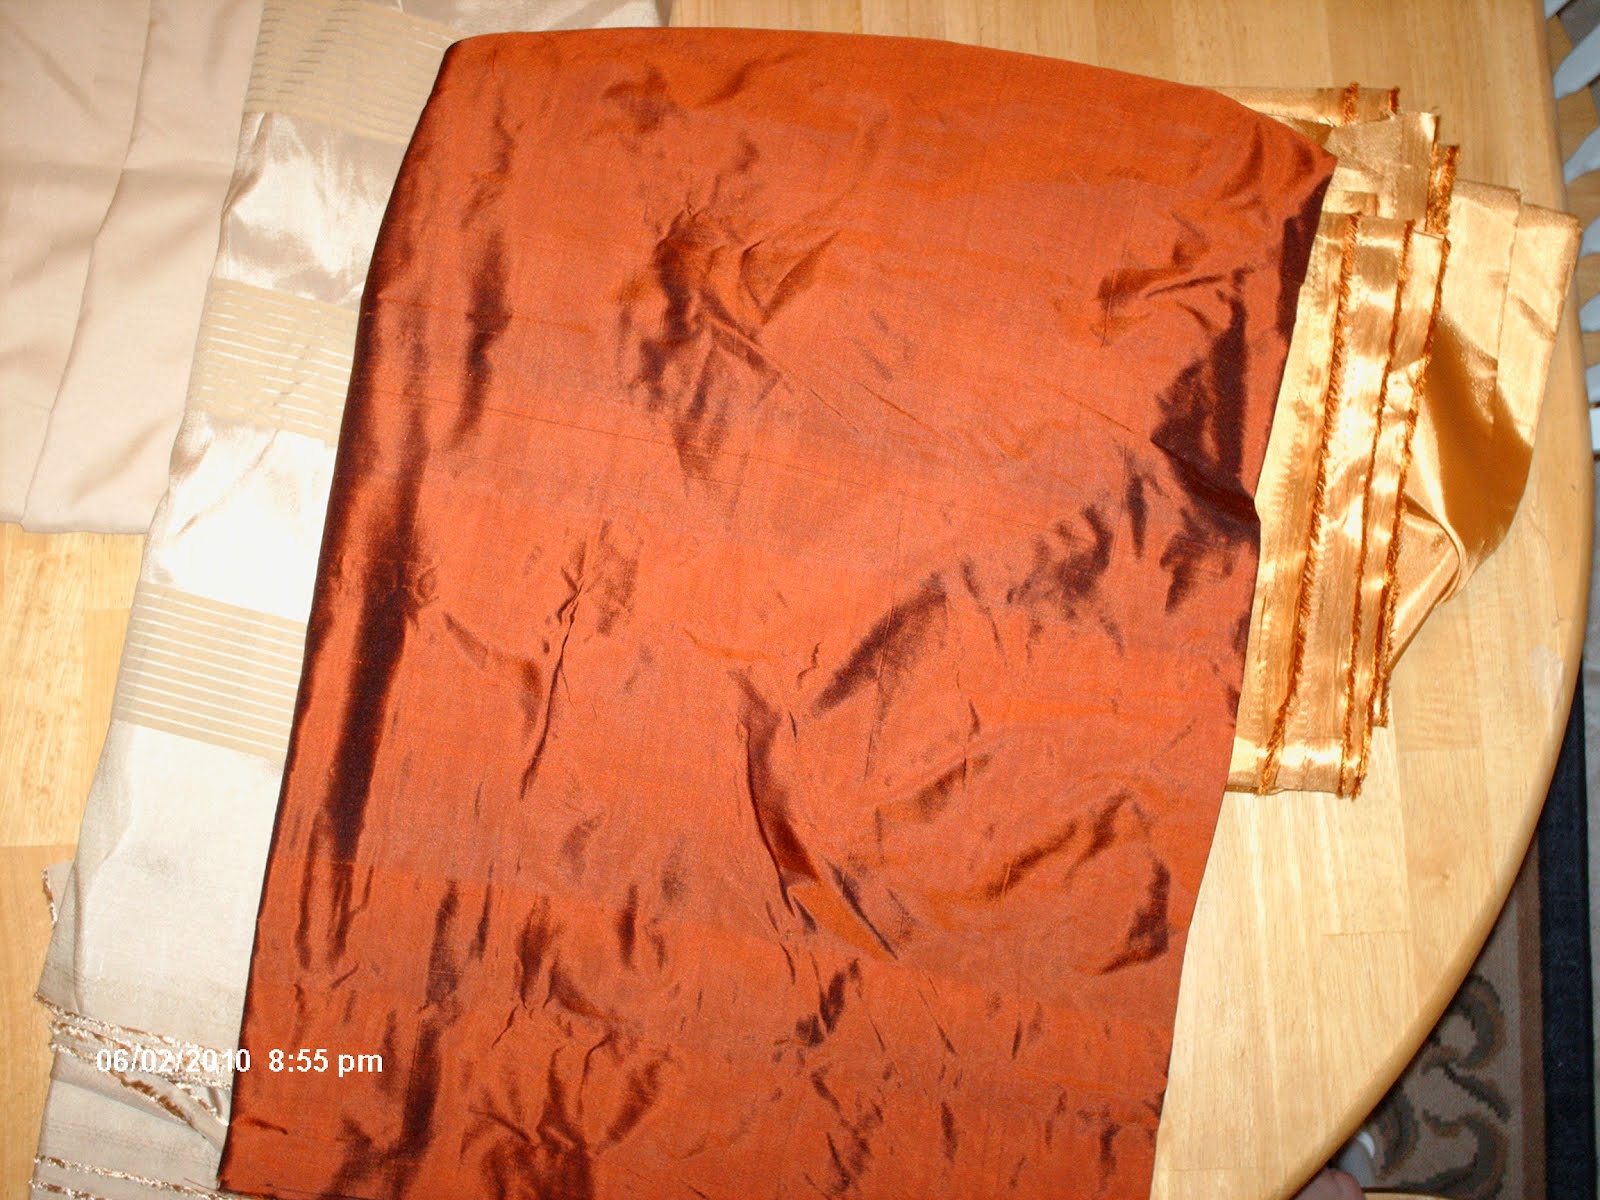
I chose a fall pallet for this dress. I wanted golds and oranges, thus I'm referring to it as the Fall Dress. This is a warm weather dress. I chose specifically cool fabrics silks rather than heavier tapestries.

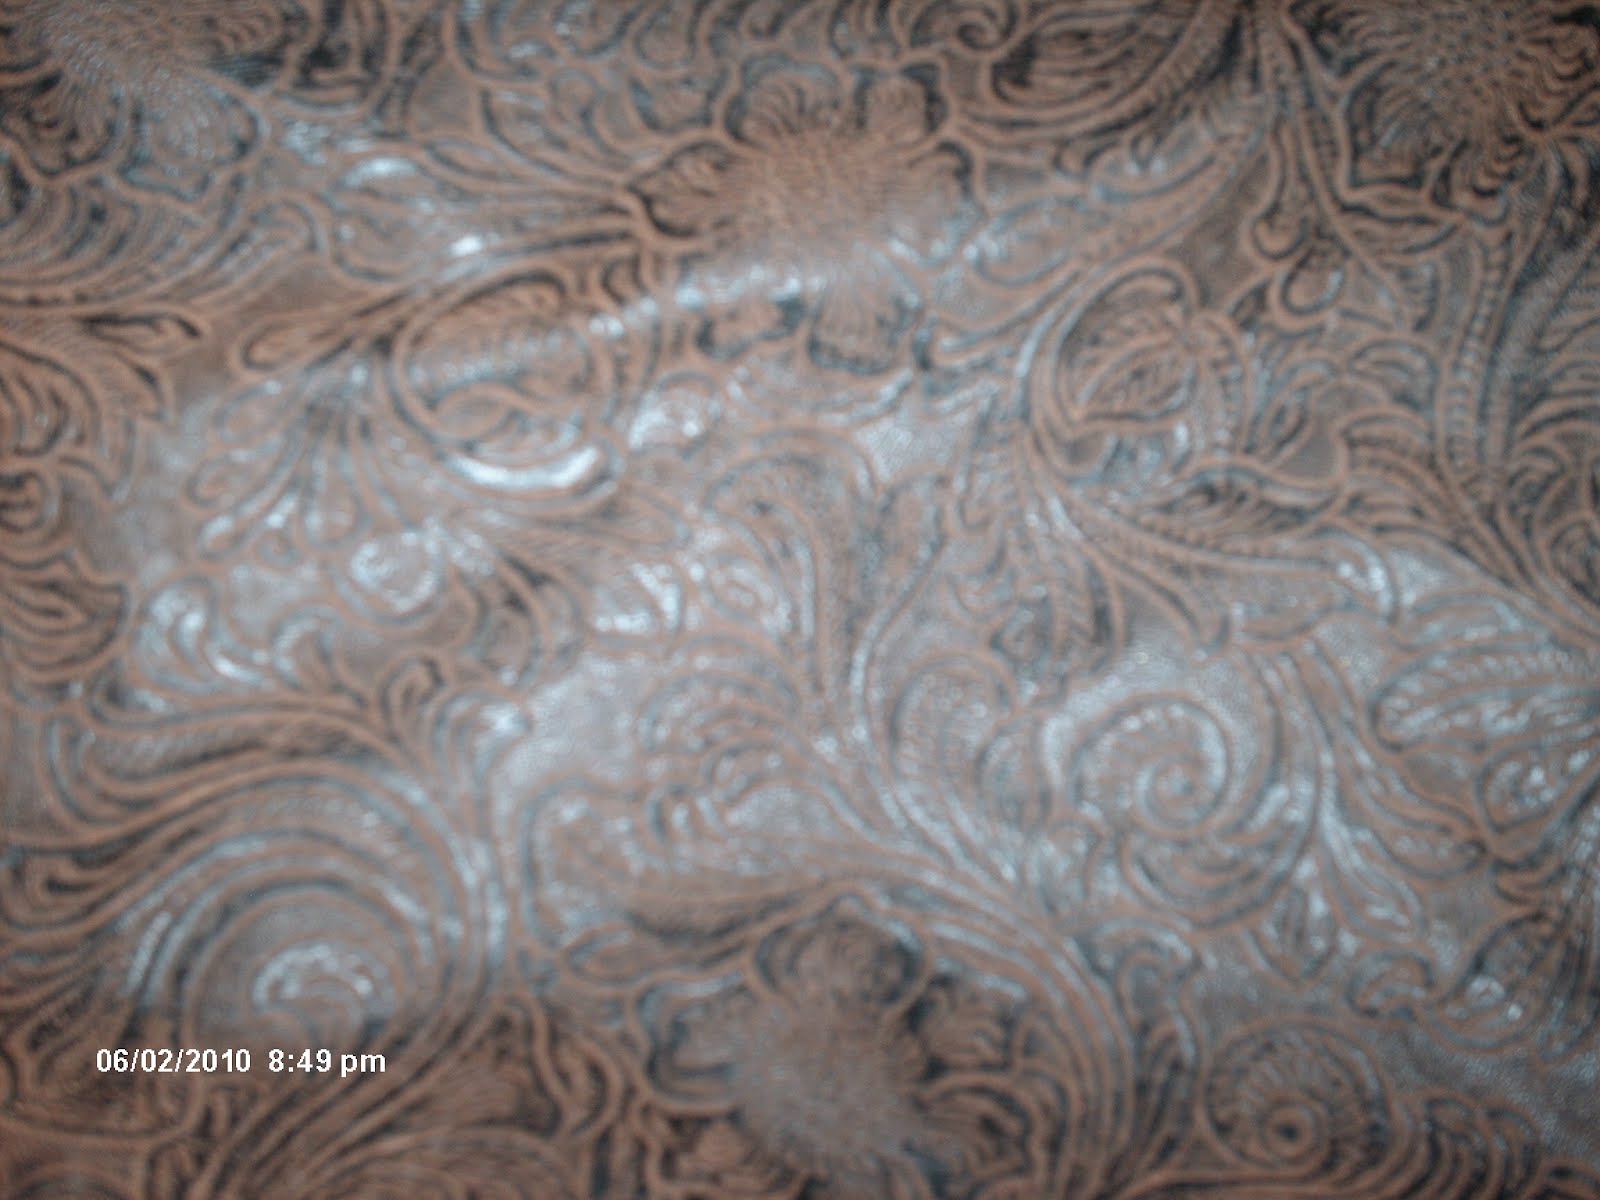
The majority of the fabric came from Walmart. I don't normally like their selection, but I had an interesting twist of fate. A woman had purchased a large amount of this leather-like fabric. She was returning it for some reason, and I bought it for half off. I believe it was three dollars a yard. Not bad.


I found a beautiful Orange silk at Joannes. I didn't mind buying something so fragile, since I am going to cover it with the coat in bad conditions. I want the dress to flow and move with me so a light silk seemed best. As I mentioned before I'm also adding a white and a yellow petticoat made from light lining fabric to add to the swish-i-ness (technical term) of the dress.


The off white and muted yellow striped fabric was the real boon to this undertaking. I found it at Walmart on the 50% off table. The stripes are a raised velor so it has a velvety feel. I couldn't ask for better.


Excerpt from Previous Blog June, 2009
"In case someone who does not normally make garb as a past time is reading this blog, I'll explain how much is required for this to happen:
On average the supplies needed for a renaissance dress are:
  • At lease 7 yards of fabric for the gown itself. (That is a modest amount) Total each of my dresses have taken around 12-14 yards depending on the detail work required.
  • 9-12 yards of plastic boning,
  • 3 yards of fusible interfacing,
  • Grommets and grommet pliers
  • Hooks and eyes,
  • Three sets of scissors (Heavy duty for cutting boning and wire, craft scissors for cutting paper and other non-fabric items, and my fabr ic scissors)
  • Two seam rippers. One at the sewing machine, and one by the couch where I hole up when I make a major mistake.
  • Bobbins, thread (black, white, and matching the color(s) of the gown.
  • I have both the thin regular fabric pins, but I also buy the more heavy duty/ oddly cheaper thick long pins that work so well with drapery fabrics.
  • Last but not least is the oddest item in my arsenal of dress making supplies: Three packages of Joann's Craft Essentials Silver Photo Hangers: I use them for my bodice lacings. I'll explain it in a later blog. It's quite innovative- (I don't know what I'll do when they stop selling these things.)

End of Excerpt


To this list I'm adding two things. I'll explain about this in my next post, but I'll need to strengthen the lighter fabrics in order for them to work well as a bodice. For this purpose I've added Pelon and Heavy Weight Interfacing.


I've also purchased a Bias tape maker. I don't really know if this will help, but if it works it will make finishing the bodice so much easier!!!!


In patterning this dress I've decided to use commercial patterns. I'm lazy... I don't mind stitching together different pieces of other peoples work to get what I want. I'll actually be using three different patterns to make this dress:

Simplicity 3782 for creating the riding coat

Simplicity 8192 (Fantasy Medieval Dress with good sleeves) for the sleeves of the dress

Simplicity 2589 (Tudor Dress) for the majority of the under dress.

I'll explain more as I go on... :) I will also explain how to work in parts of different patterns to get what you want rather than relying on the package. It should be a lot of fun!!!

Wish me luck!

Next Post:


Cutting out Chevrons from Striped Fabric.