Hi Everyone. Sorry it has been so long. I published by third book in August, and I'm currently getting my Masters in Educational Administration. Both took a considerable amount of time. I have been working on the dress off and on, but I haven't had time to put things up on the blog.
Unfortunately this tutorial is a casualty of the time crunch. I'm really embarrassed about this section. Fortunately, I already wrote a really good explanation about how to put the bodices together with the red dress, so I am doing a really simple walk through of this process.
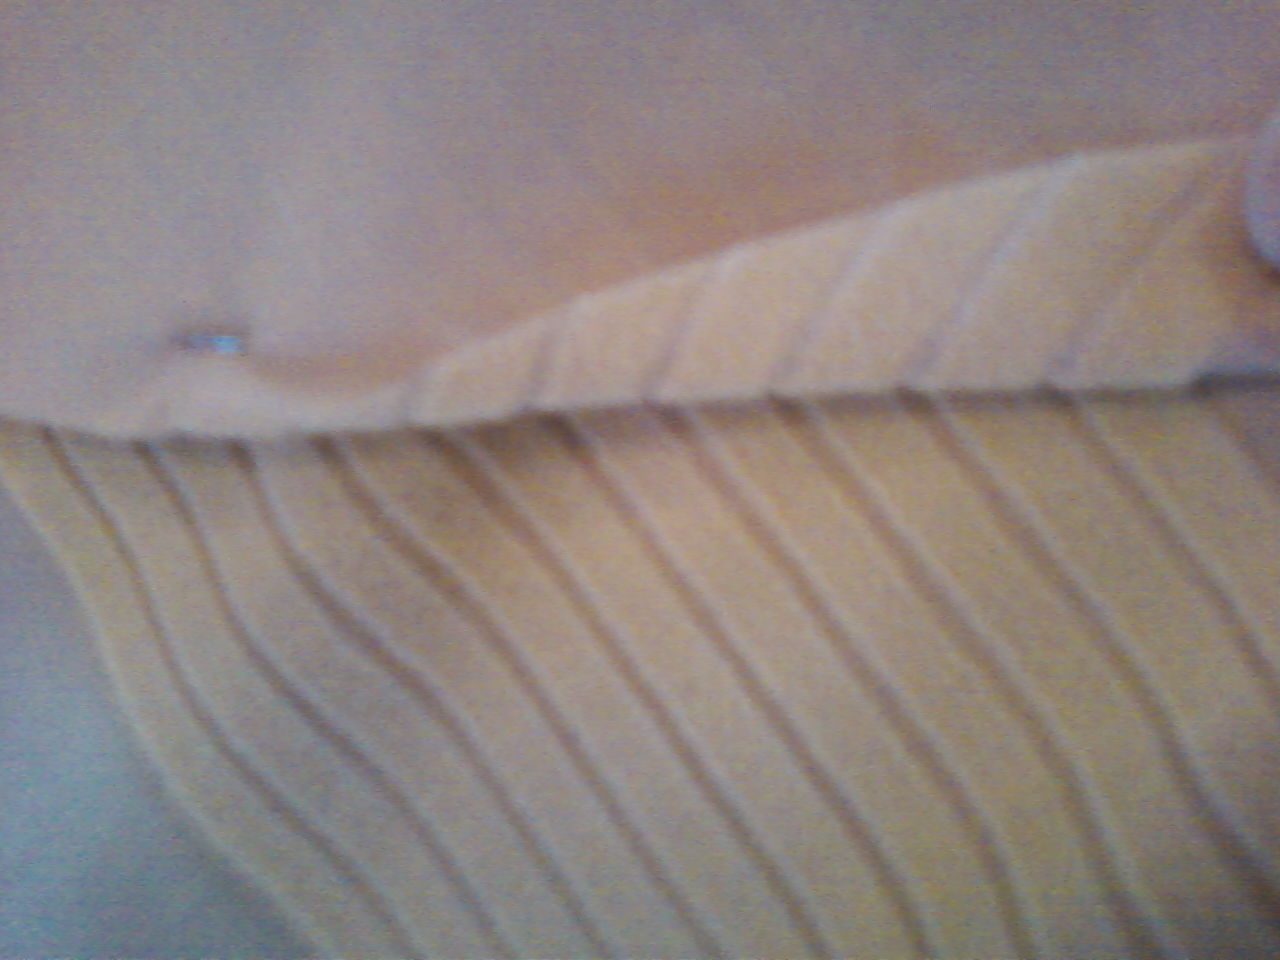
When sewing the front of the bodice, I matched up the velvet pieces so that the stripes matched up perfectly and then did a simple seam. Note: It is important to be aware of the seam allowance. Sewing too deep will throw off your chevron.
Once the material is sewn together, I ironed on the sheet of Pellon.

On top of that, I ironed on the heavy interfacing. Since the material is so thin, I wanted to make sure the boning didn't show through. This combination will make the front of the bodice look soft and provide the structure needed to make sure that the bodice doesn't pull apart due to the pressure from the corseting.

Here you can see how the chevron turned out along with the three layers.

Once I sewed them together, I cut the seam allowance. This will make sure the bulk in the side seams doesn't make the bodice look strange.

A quick view of the result of the three layers. Right now it looks a little more like body armor than a bodice. Ah well on to the lining.

Since you don't see the bottom layer of the lining, I put the actual marks of where I needed to sew to provide the casing for the boning on the sides (above) and the back (below).
Most of the patterns don't have the side supports. I add them anyway. Adding these supports will stop the bodice from folding in the back and on the sides.

The front of the bodice needs more support. I make the channels approximately a centimeter and a half wide.


The boning (above) comes in a casing. To make the bodice about nine yards of boning is needed. This provides the structure for the front of the bodice. First it has to be removed from the casing.

The boning is put down each channel. I do round the edges of the plastic. In the long run it saves the lining. To do it, you clip the corners off. There is a better tutorial on this with the red dress.

Once the boning is complete, I sewed the lining together. It is my personal choice to put the rounded side of the boned front so the rounded section will be on the inside of the bodice. Doing this will stop the bodice from rounding like a duck breast.

Adding the sleeves.
Before I put the outer section and the lining together, I added the sleeves.

I did a simple gather of the upper section of the sleeves. I matched up the seam of the sleeve to the middle of the side bodice panel and pinned the sleeve into the arm. Since I'm not using the actual sleeve for this particular pattern, some easing was required.
Definition: Ease-- manipulating the fabric and providing a minimum amount of space between pins so there is no catching but the entire fabric fits within the space.

This is my least favorite part of sewing these bodices. I lose about a pint of blood sewing the sleeves together.

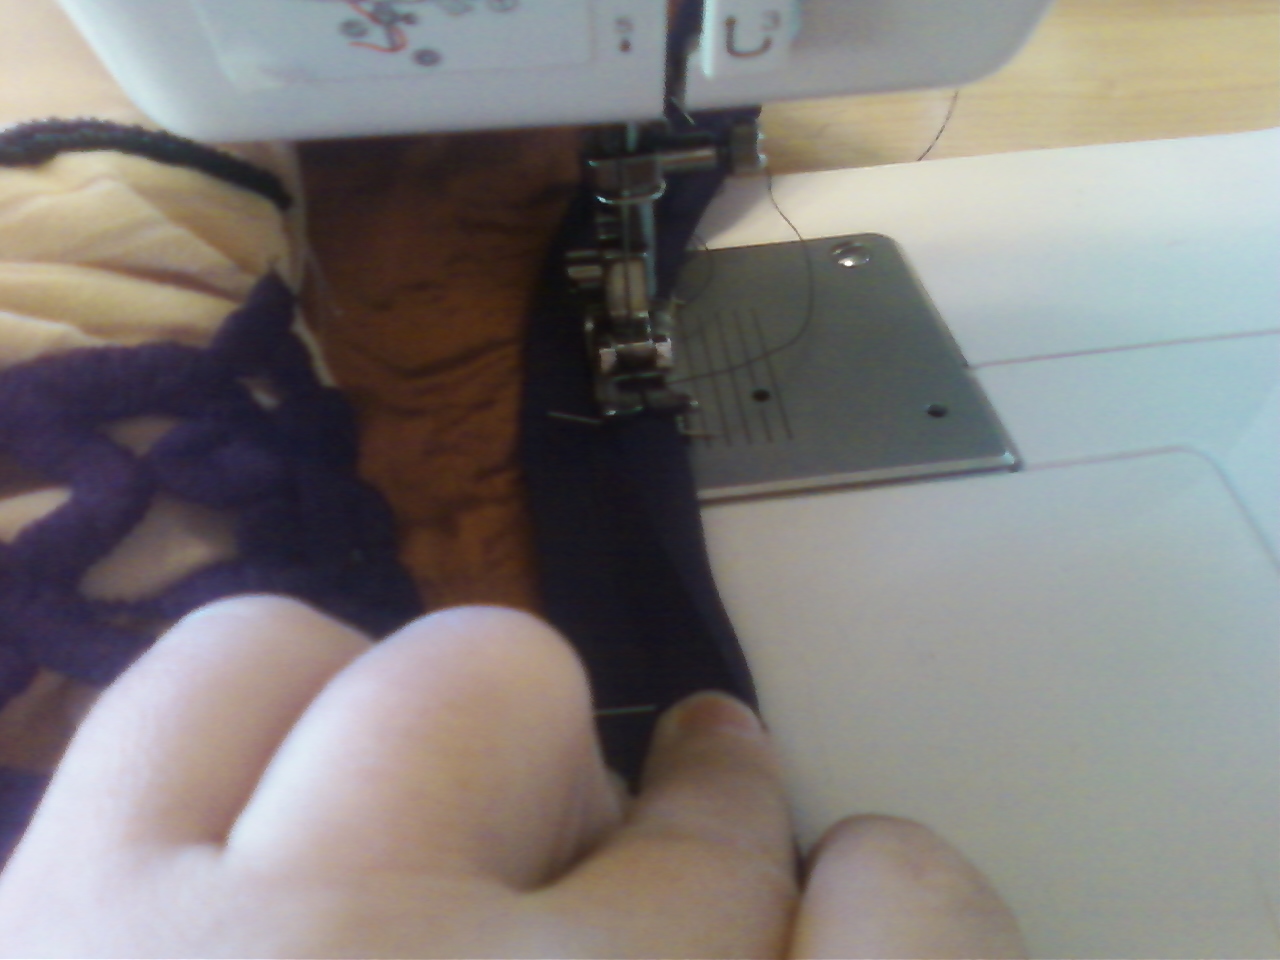
Once done with the sleeves, I match up the lining to the outer bodice. This only requires top sewing; however, this ends up breaking about twenty needles. I did discover that using needles designed to go through leather provides the strength needed to sew the layers of heavier fabrics without breaking.

With the top stitching completed, I framed the bodice with the bias tape. I specifically chose the black bias tape, to give the bodice a stark outline. I pinned it into place. The corners are always tricky.

The easiest way: Leave about an inch and a half of space looped like above.

When you pin down the other side, let the loop stay above the bias tape.

Next tuck the looped edge under so you don't catch it with the sewing machine.
Sew the bias tape down with the sewing machine on the outside of the bodice. This will give it a lovely line. I didn't get a picture of the other side. (Sorry) I basically folded the bias tape over the edge. Keeping it folded, I whip stitched the bias tape to the lining.
UP NEXT: BLACKLINE BEADING.


No comments:
Post a Comment